1
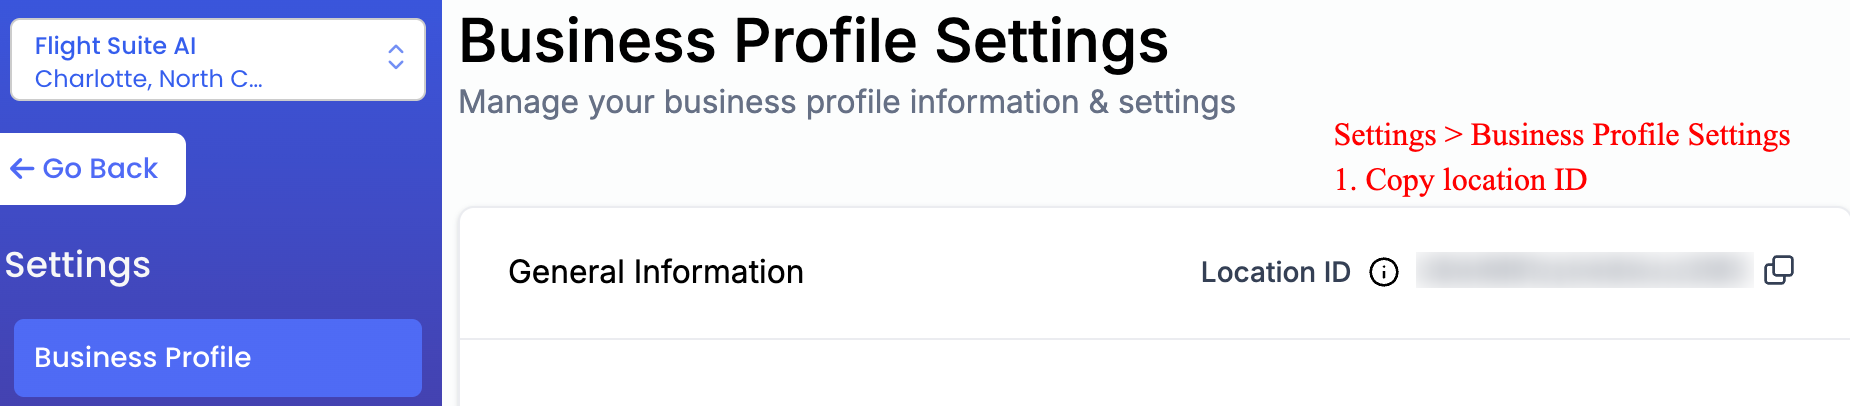
Find Your Location ID
Navigate to your business profile settings in Flight Suite or Go High Level, and copy your Location ID. This unique identifier connects FlightSuite to your specific CRM account.
2
Create Private Integration Token
Go to your Settings, navigate to Private Integrations, and click "Create New Token". This will allow FlightSuite to securely communicate with your CRM.

3
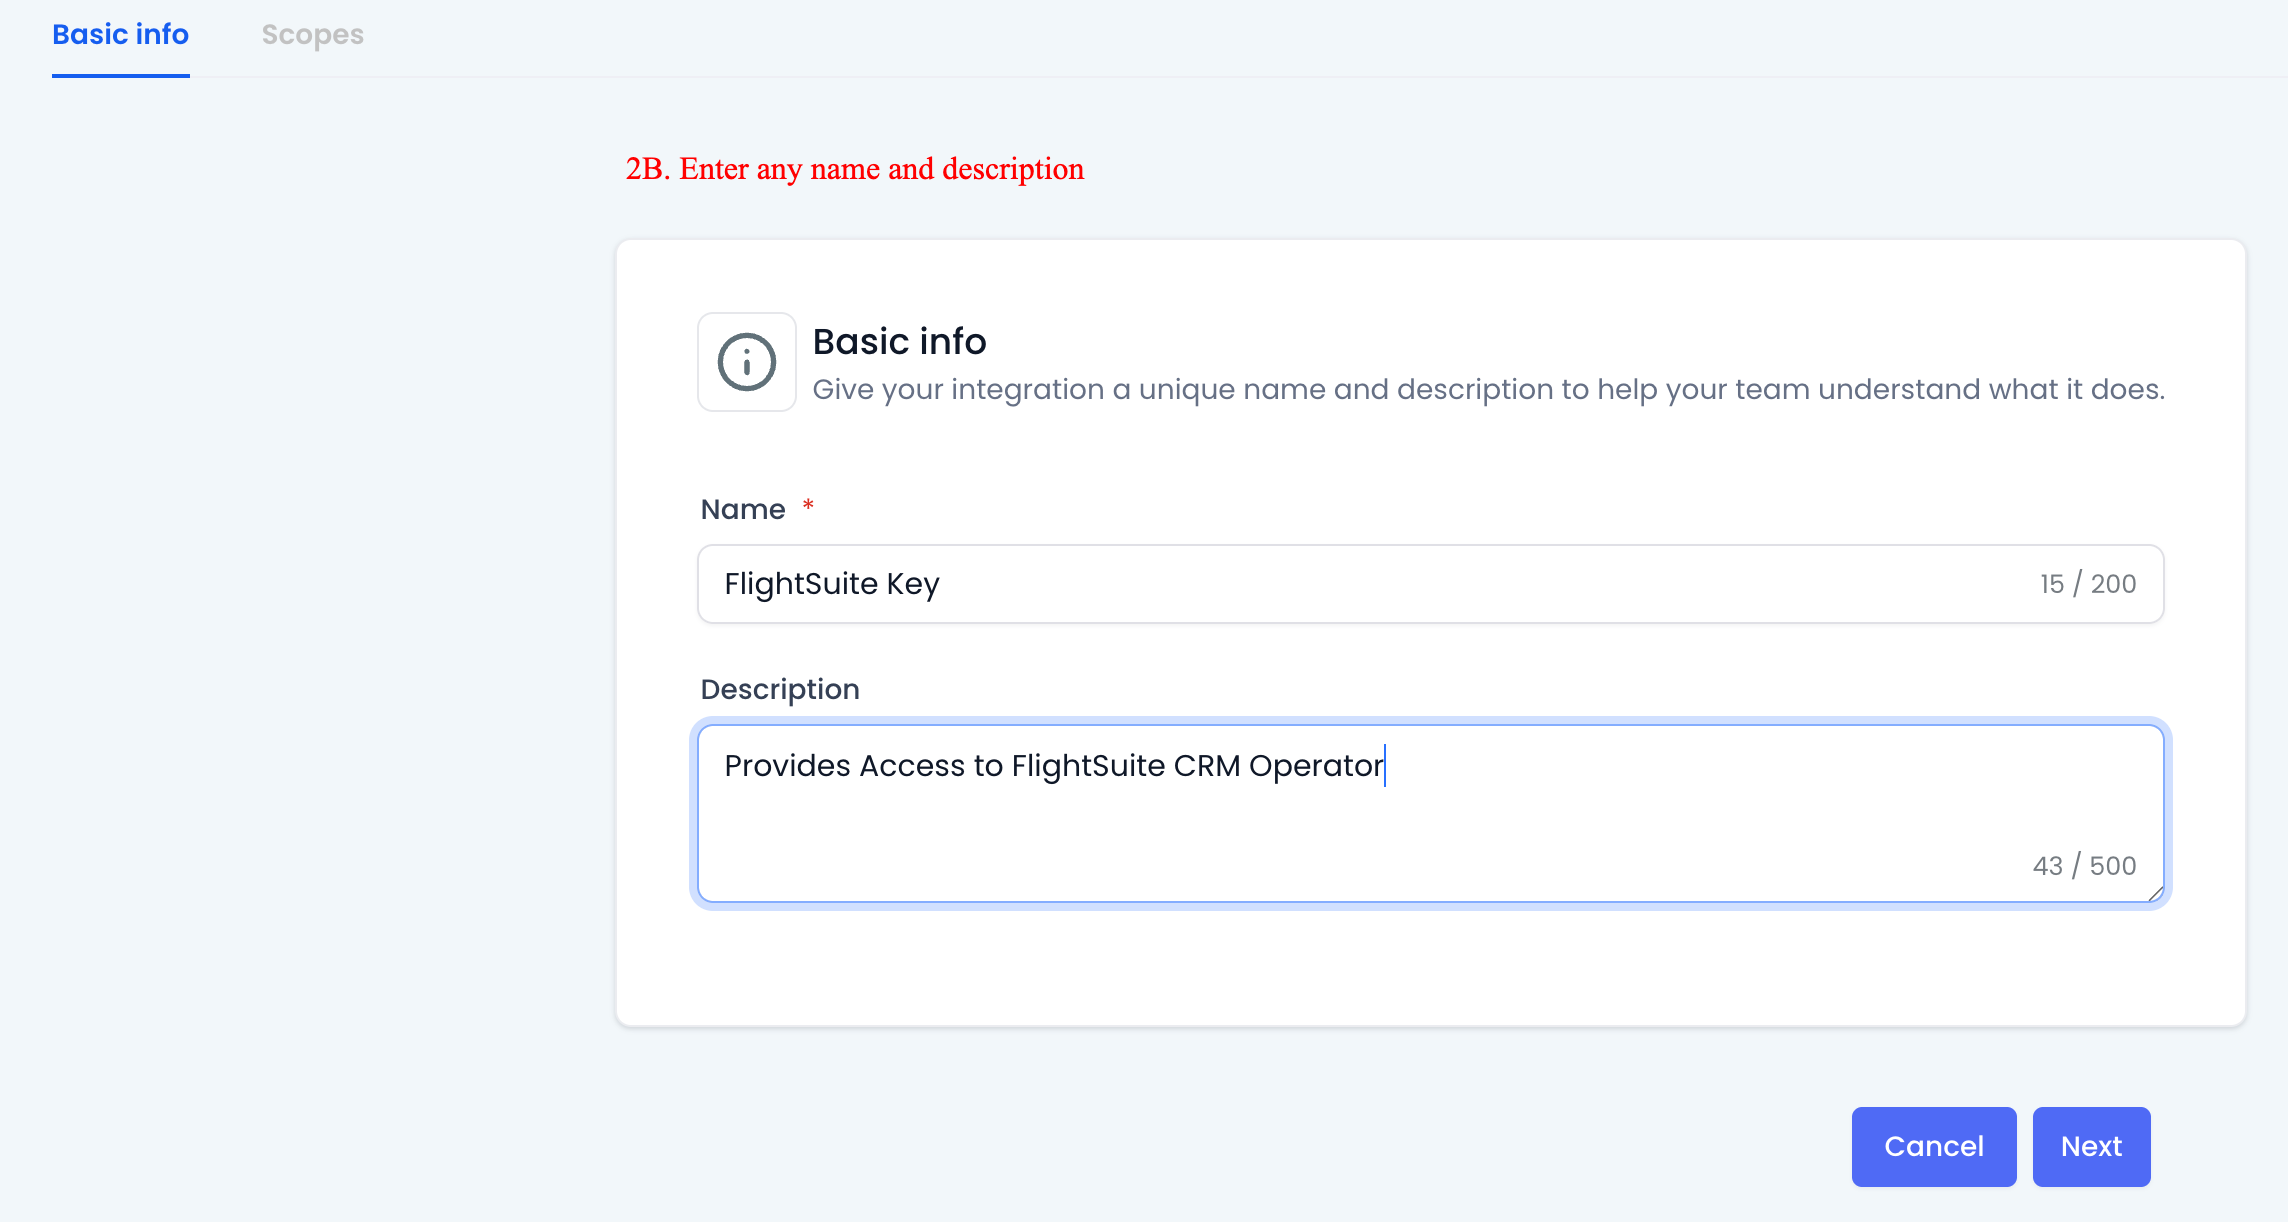
Enter Token Information
Provide basic information for your Private Access Token, including a name (e.g., "FlightSuite Integration") and a description. This helps you identify the token's purpose later.
4
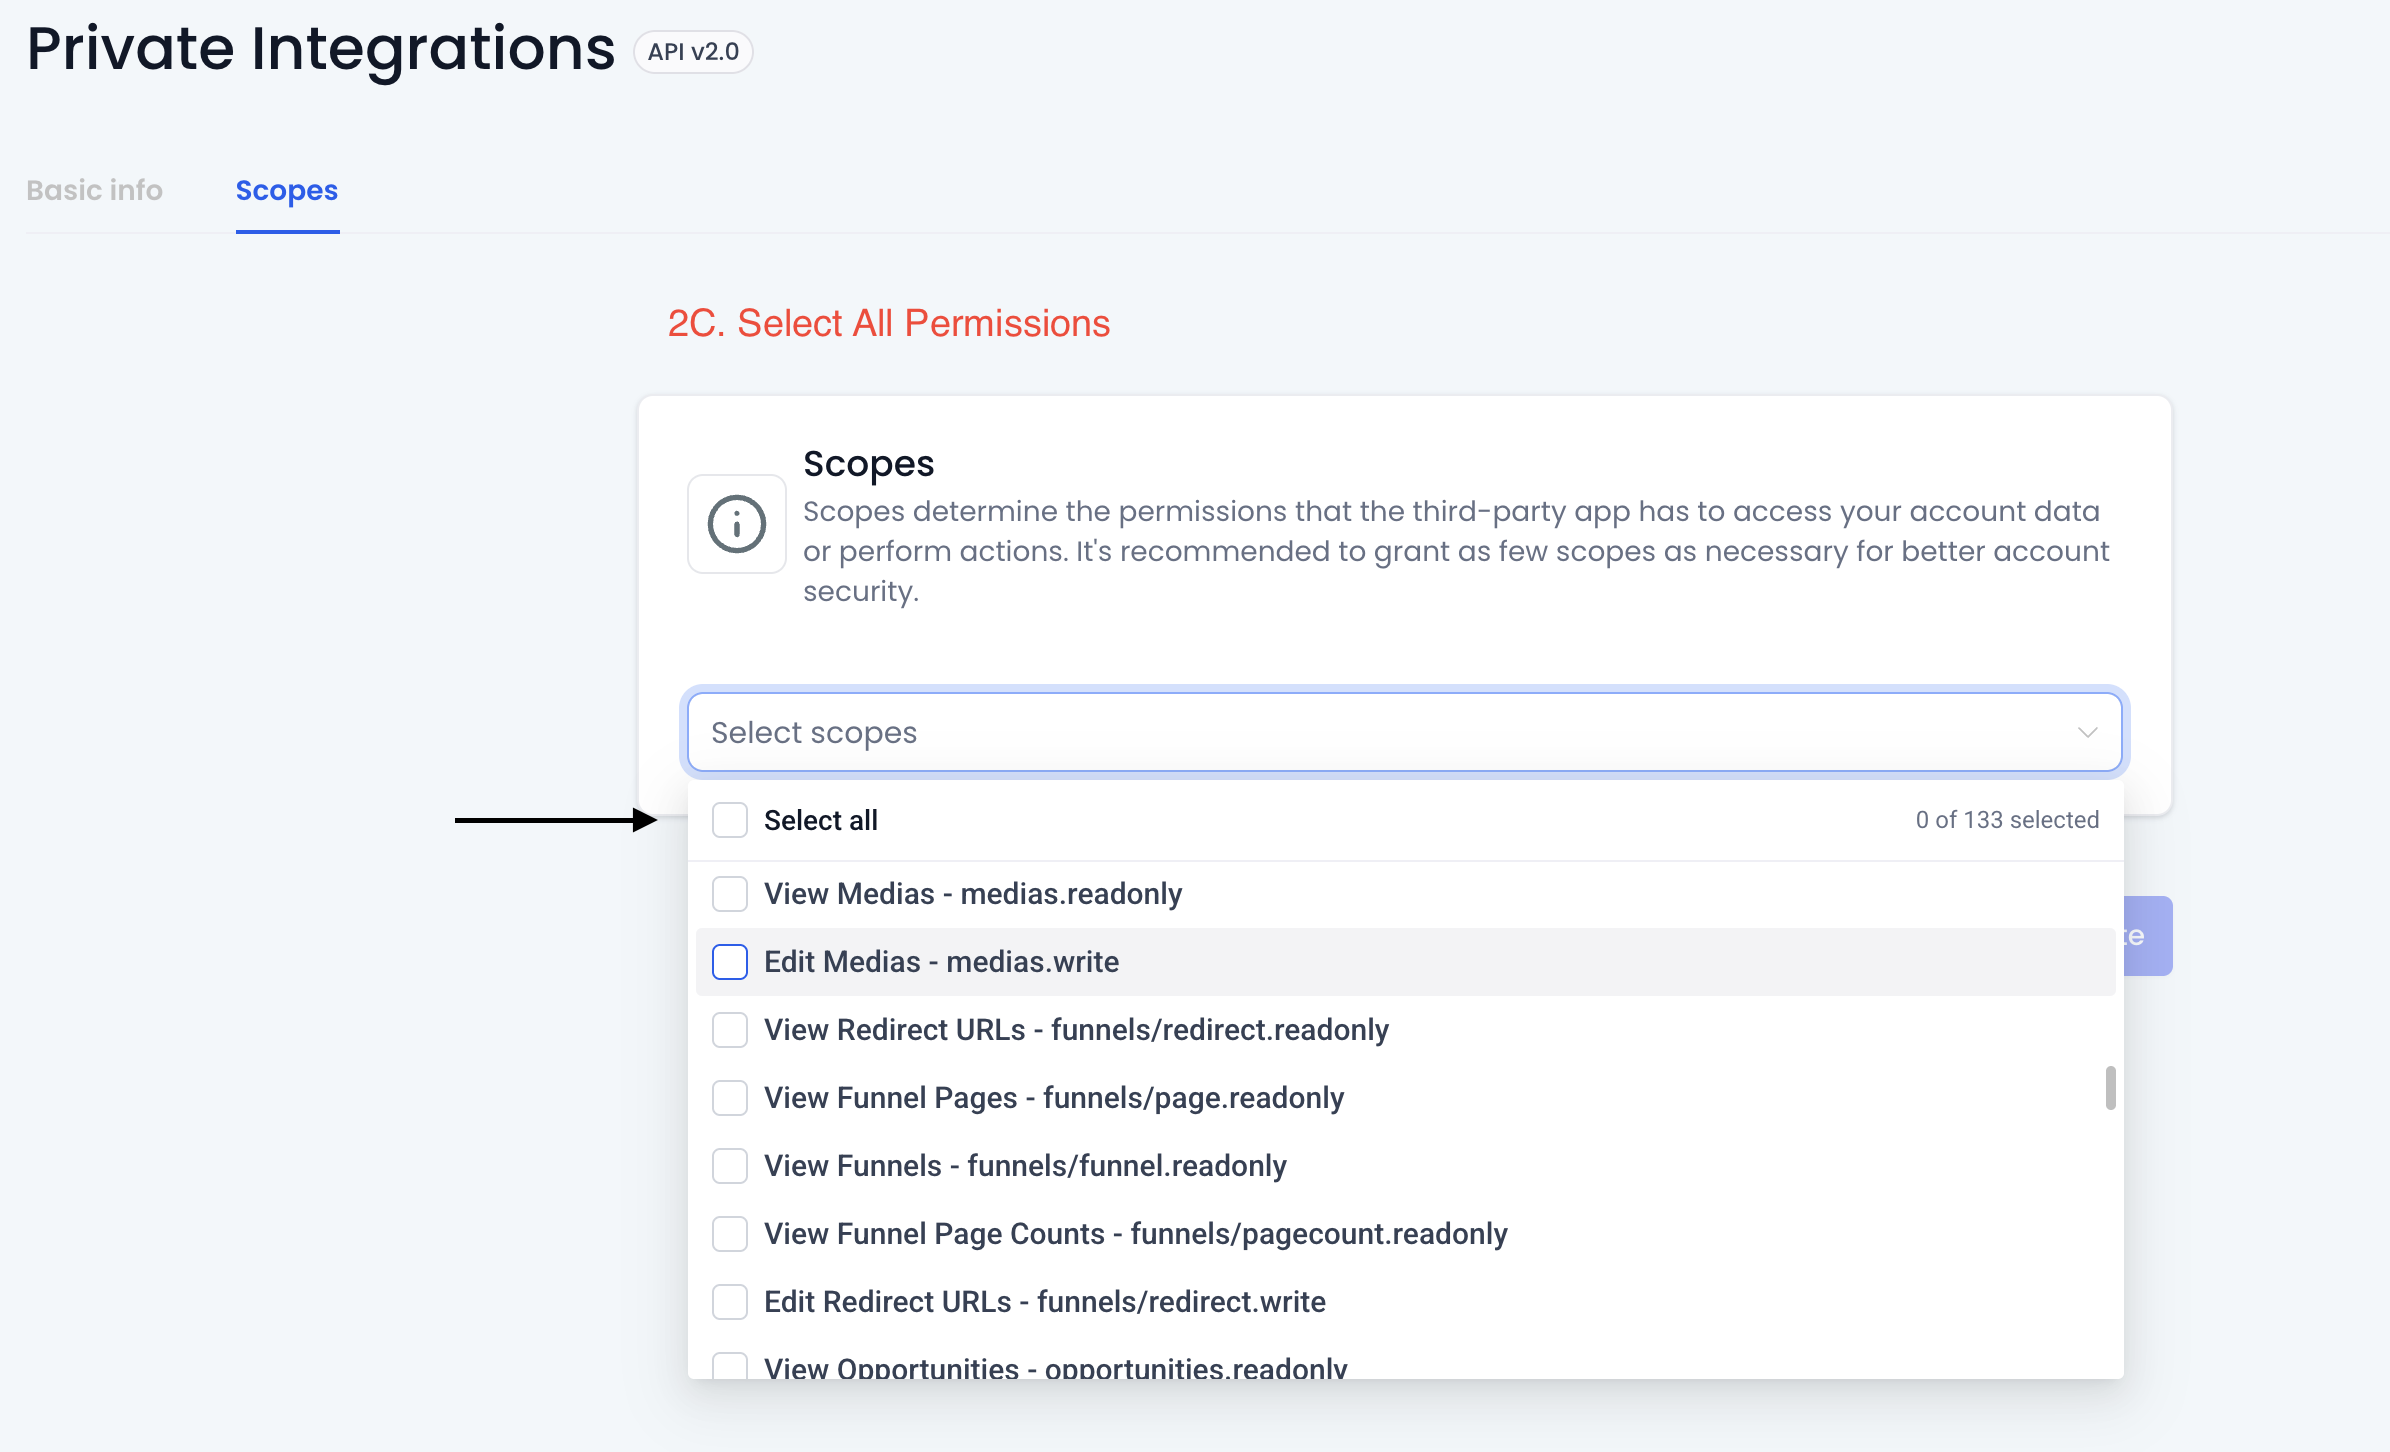
Select All Permissions
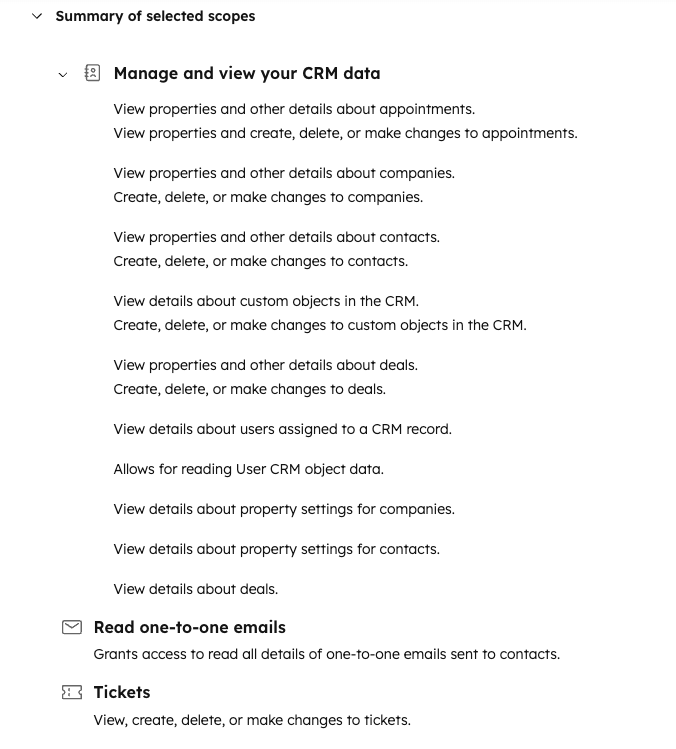
For the token scope, select all permissions to ensure FlightSuite can fully automate your CRM tasks. Here's why each permission category is essential:
- Contacts: Read and update contact information, including names, email addresses, and phone numbers
- Opportunities: Create and manage deals, update pipeline stages, and track deal values
- Users: Access user information to properly attribute notes and activities to the correct team members. This scope is needed to update notes on contacts and ensure proper ownership tracking
- Calendars & Tasks: Schedule follow-ups, create reminders, and manage appointments automatically
- Conversations: Read and respond to messages across channels (email, SMS, chat) to provide context for automation
- Forms & Surveys: Access form submissions and survey responses to trigger appropriate workflows
5
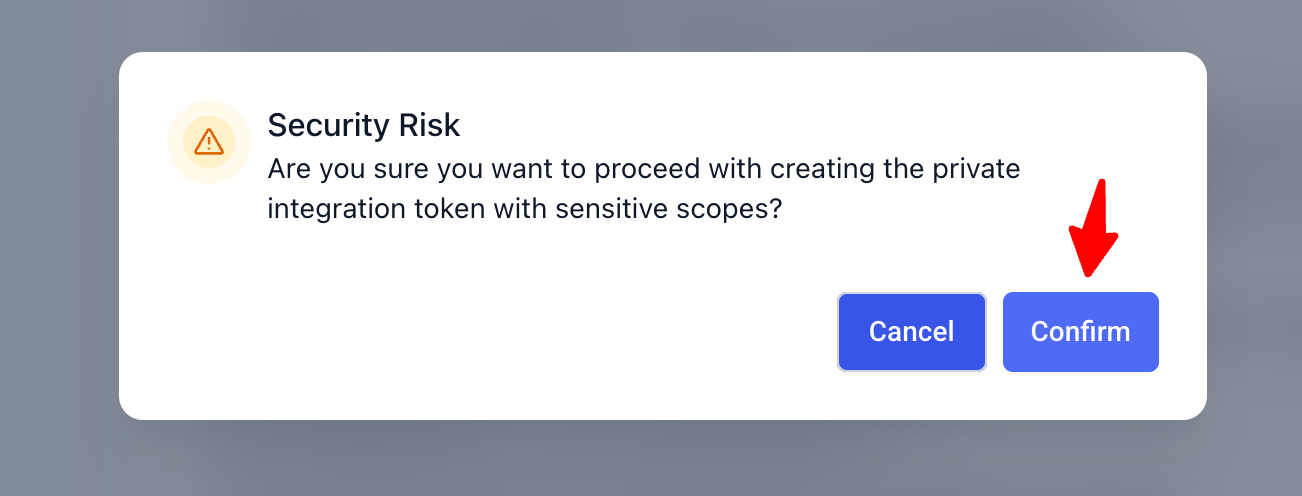
Confirm Security Warning
When prompted with a security risk warning, click "Confirm" to proceed. This warning appears because you're granting extensive permissions, which is necessary for FlightSuite to function properly. The system flags comprehensive access requests as a security precaution, but these permissions are essential for FlightSuite to automate your CRM workflows, manage contacts, update deals, and synchronize data across your business operations. Your Private Integration Token remains secure and is only used to connect FlightSuite with your specific CRM account.
6
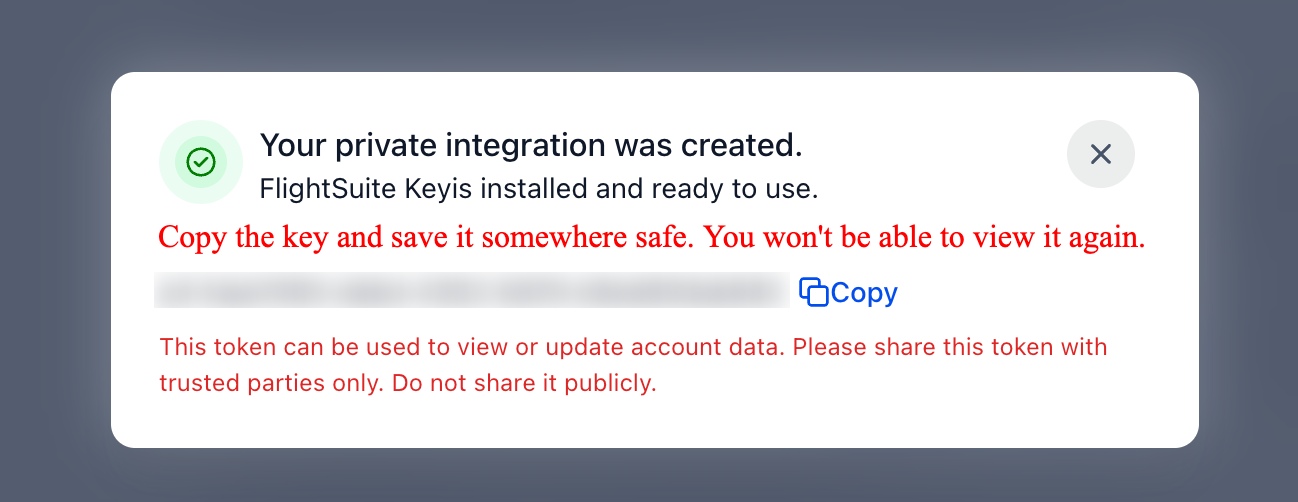
Copy and Save Your Key
Copy your Private App Key and save it somewhere secure. This is important - you won't be able to view this key again after this step. Store it in a password manager or secure note.
7
Regenerate Token (If Needed)
If you lose your token or need to regenerate it for security reasons, you can always do so in the Private Integrations section of your Flight Suite or Go High Level account. Simply select your integration and click "Regenerate Key".

1
Access HubSpot Settings
Log into your HubSpot account and click the Settings gear icon in the top navigation bar.

2
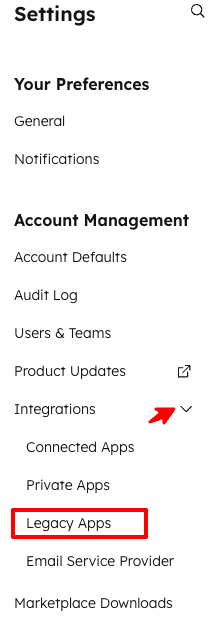
Navigate to Legacy Apps
In the left sidebar under Account Management, click Integrations, then select Legacy Apps from the dropdown menu.
3
Create a Legacy App
Click the Create Legacy App button to start creating your integration.

4
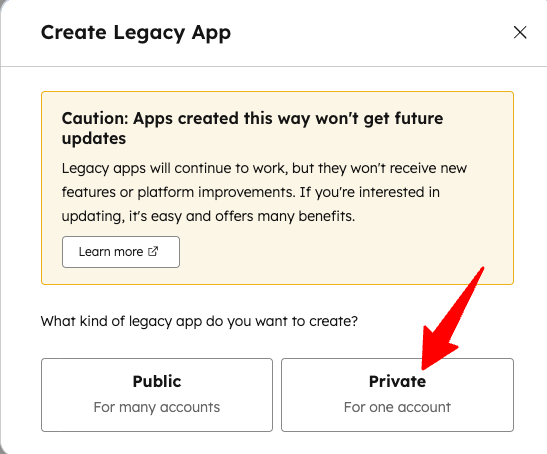
Select Private App Type
Choose Private as the app type. This creates a secure connection between FlightSuite and your HubSpot account.
5
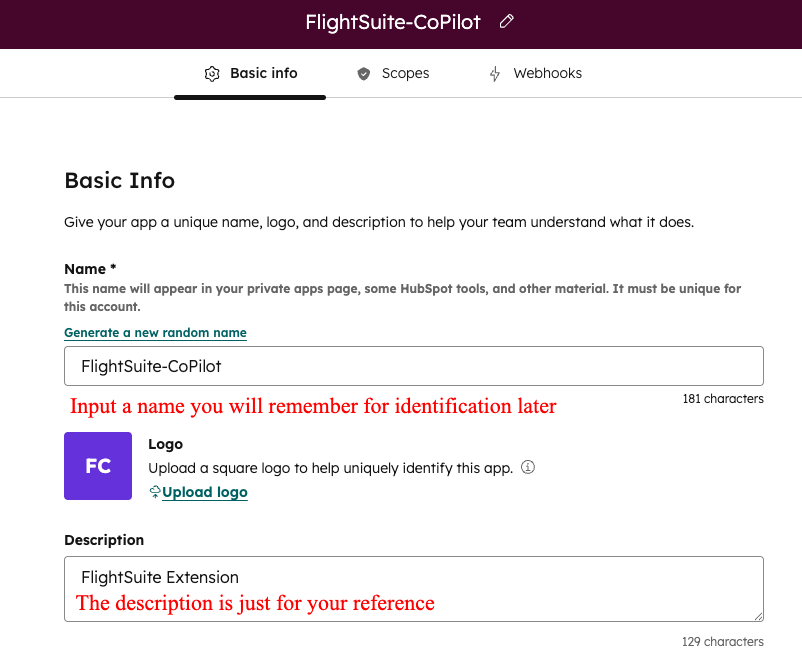
Enter App Information
Give your app a name like "FlightSuite Integration" and optionally add a description to help you identify it later.
6
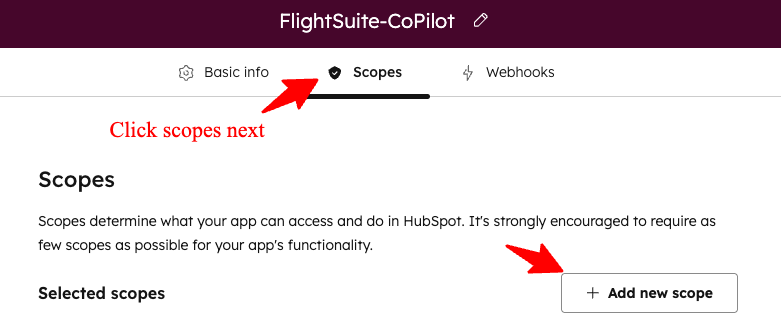
Select Required Scopes
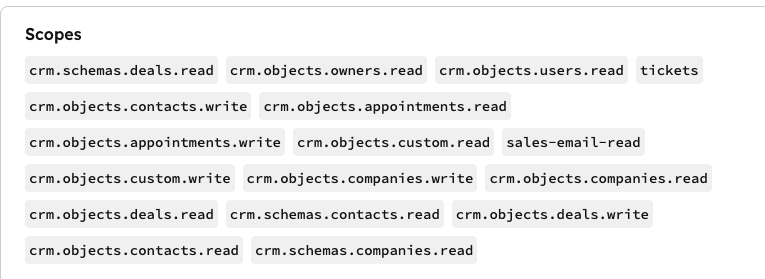
Click the Scopes tab and select the required permissions for FlightSuite. Search for each scope name below and enable it:
View Required Scopes (18 permissions)
| Scope Name | Permission |
|---|---|
| Contacts | |
crm.objects.contacts.read |
View contact records |
crm.objects.contacts.write |
Create and update contacts |
crm.schemas.contacts.read |
View contact properties |
| Companies | |
crm.objects.companies.read |
View company records |
crm.objects.companies.write |
Create and update companies |
crm.schemas.companies.read |
View company properties |
| Deals | |
crm.objects.deals.read |
View deal records |
crm.objects.deals.write |
Create and update deals |
crm.schemas.deals.read |
View deal properties |
| Tickets | |
tickets |
View, create, and update tickets |
| Appointments | |
crm.objects.appointments.read |
View appointments |
crm.objects.appointments.write |
Create and update appointments |
| Custom Objects | |
crm.objects.custom.read |
View custom object records |
crm.objects.custom.write |
Create and update custom objects |
| Users & Owners | |
crm.objects.owners.read |
View record owners |
crm.objects.users.read |
View user details |
sales-email-read |
Read one-to-one emails |
Click any scope name to select it, then paste into HubSpot's scope search.
7
Create the App
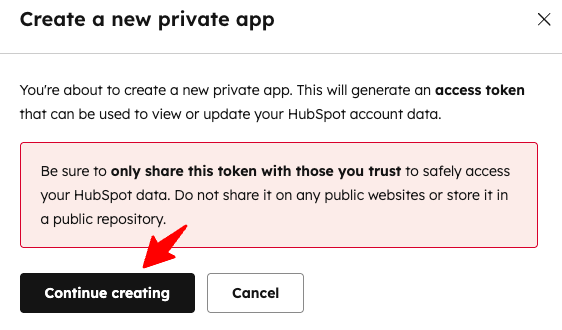
Review your settings and click Create App to generate your integration.

8
Continue to Token Screen
Click Continue to proceed to the authentication screen where you can access your token.
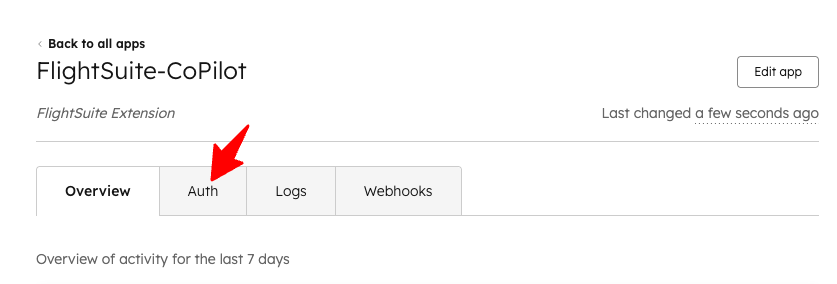
9
Access the Auth Tab
On the next screen, click the Auth tab to view your access token.
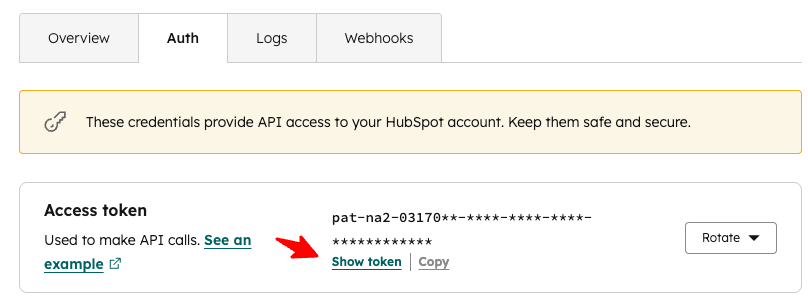
10
Copy Your Access Token
Click Show Token, then copy the access token. This is your FlightSuite access key. Open the FlightSuite Chrome extension, select HubSpot as your CRM, and paste this token to complete setup.
+
Edit Scopes (Optional)
If you need to add or modify scopes in the future, you can return to your Legacy App settings and update the permissions as needed.